Authentication
Apps need to be granted capabilities to be able to access your agents data.
To avoid the complexity of setting up this authentication flow ad4m-connect (opens in a new tab) will do all of this for you and just deliver an initialized and usable Ad4mClient object.
import Ad4mConnect from "@perspect3vism/ad4m-connect";

const ui = Ad4mConnect({
  appName: "My First ADAM App",
  appDesc: "This is my first app here.",
  appDomain: "ad4m.dev",
  appIconPath: "https://i.ibb.co/GnqjPJP/icon.png",
  capabilities: [{ with: { domain: "*", pointers: ["*"] }, can: ["*"] }],
});

// .connect() will show the authentication pop up
ui.connect().then((client) => {
  // Save the client after authentication is done
});
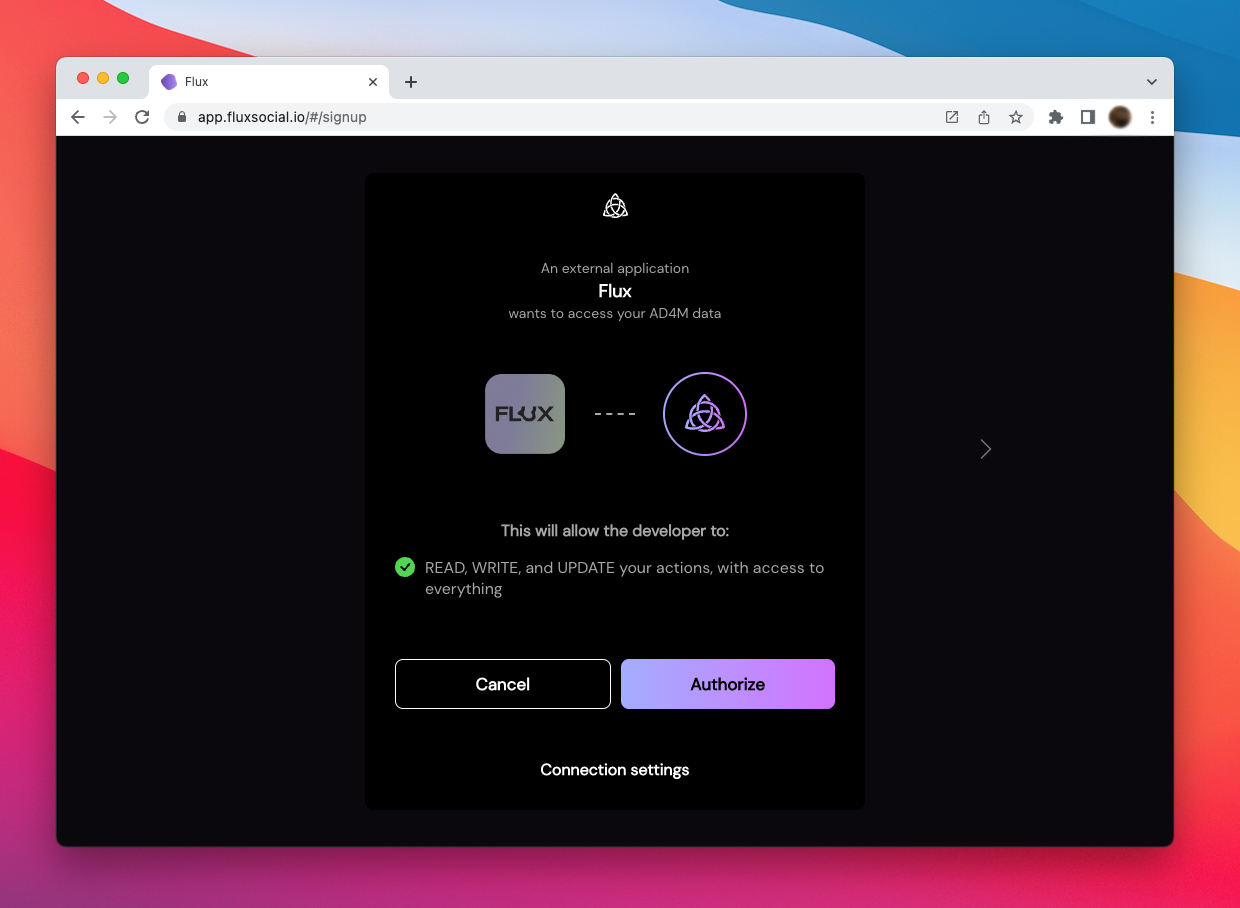
This will create a popup that takes the agent through the authentication process:

Since all the users's data is stored locally in AD4M Perspectives,
using a new app/UI and granting it access to all or parts of these perspectives
and AD4M functionality is potentially risky.
ad4m-connect not only makes it easy for app developers to connect to the users AD4M-executor,
it also provides a recognizable interface/wizard for the user.
The capabilities property must hold a string that defines what capability
(access to which perspectives and interface functions) should be requested.
This example requests all which might a good first step when starting to familiarize
yourself with AD4M, but should be restricted to what you really need for a production release.
If the user clicks authorize, ad4m-connect will connect to the AD4M-executor and request a capability token.
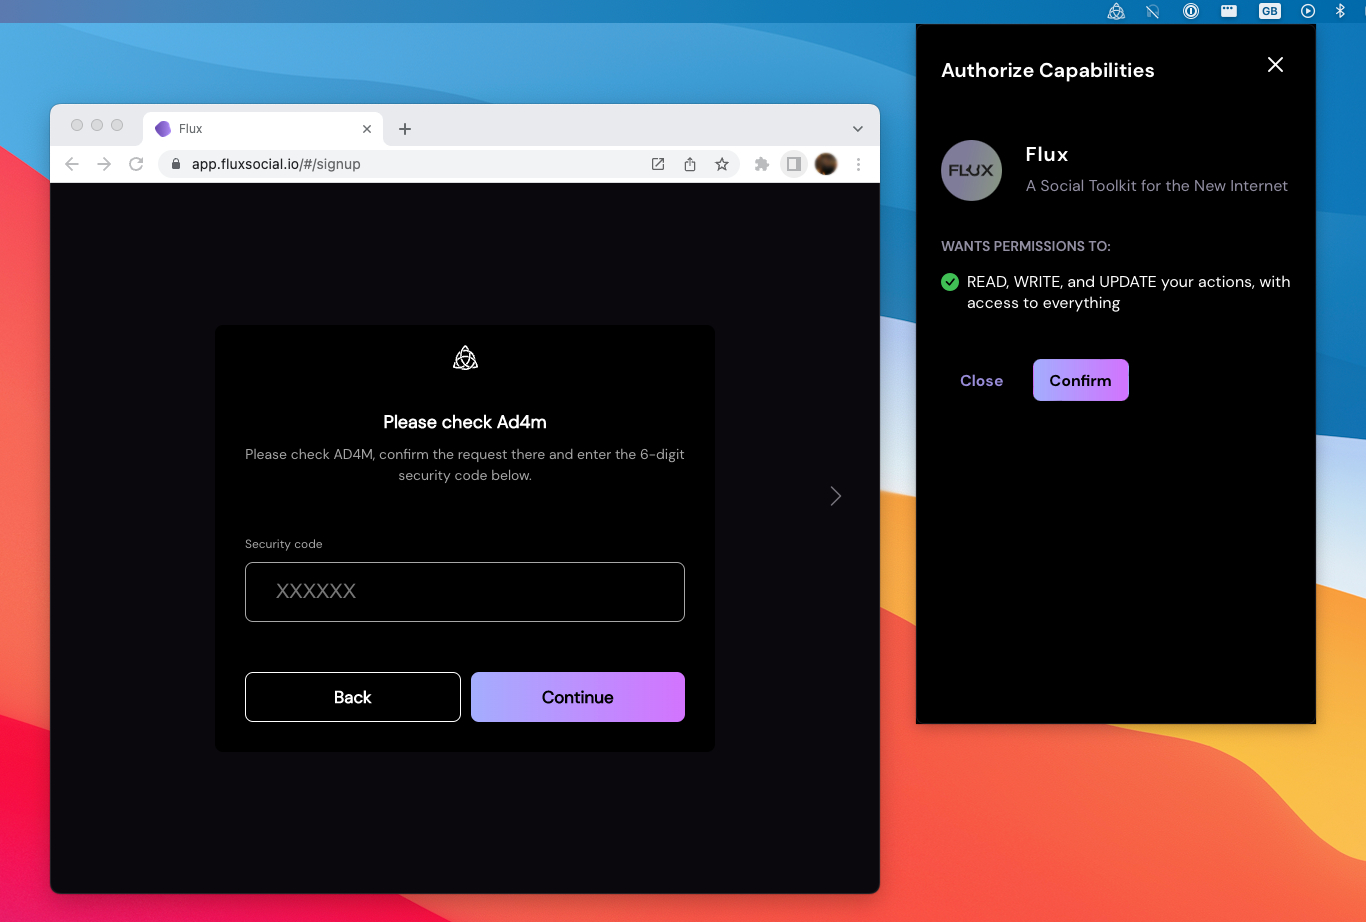
This will make the AD4M launcher bring up its pop-up window:

Here the user has to confirm the request to their AD4M instance. Next, AD4M will then show a six-digit random secret code that needs to be entered into the app UI. That way we have safely established that the network agent initiating the capability request (as seen from the AD4M-executor) really is the UI the users wants to use.
Now you are ready to use the AD4MClient to communicate with the agent.
More info is found in the docs (opens in a new tab)